Learn how to make a summer wreath
26 July 2022

Looking for a craft ideas to try this summer?
Why not try your hand at making a summer wreath?
We’ve teamed up with East Lothian flowersmith Ruth Alder, whose natural wreath designs deliver seasonal charm without costing the earth – literally! Follow Ruth’s step-by step guide to making a spectacular summer centrepiece.
What you’ll need:
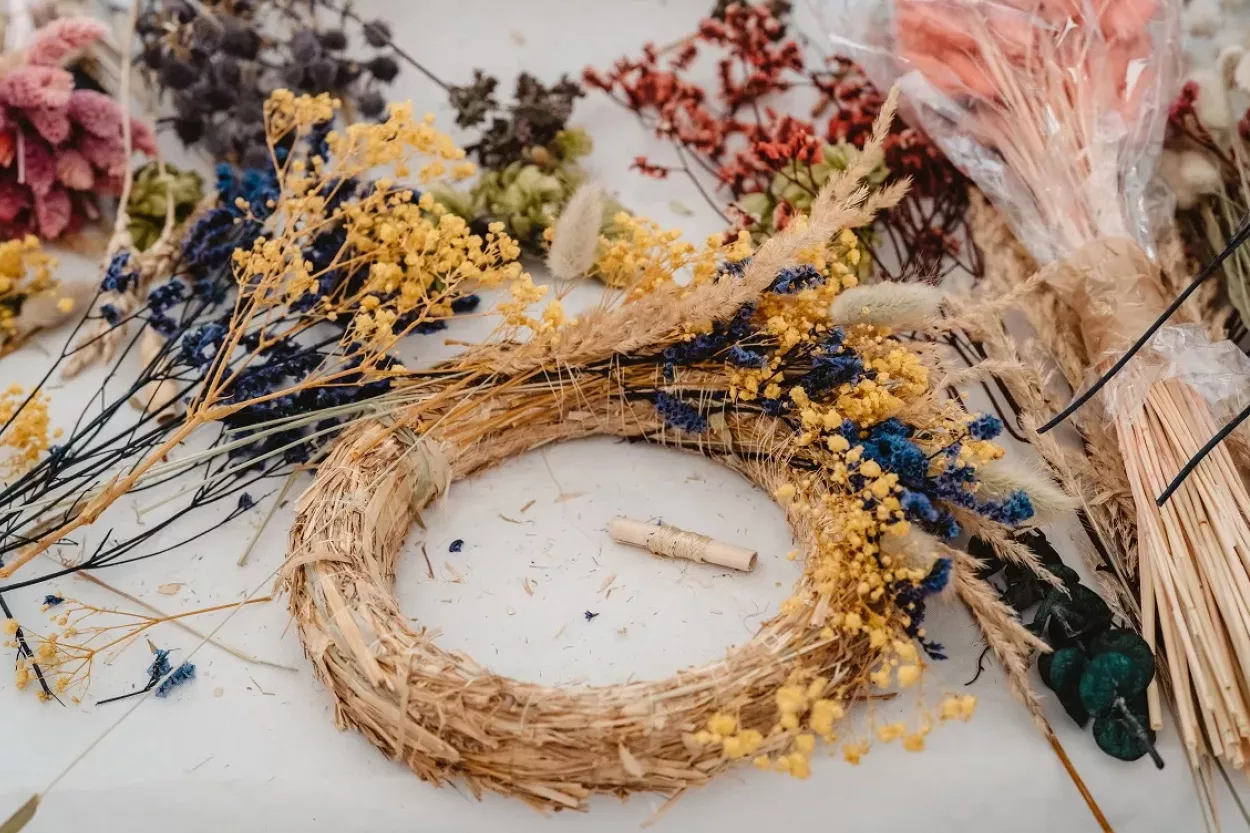
- Willow or an alternative wreath base
- Evergreen – such as ivy, holly, bay, fir, laurel, pittosporum, eucalyptus, viburnham
- Summer decorations – for example, sunflowers, lavender, geraniums, roses, daisies, feathers, twigs, shells, and leaves.
- Reel of florist’s wire and stub wires
- Secateurs
- Ribbon, raffia or string
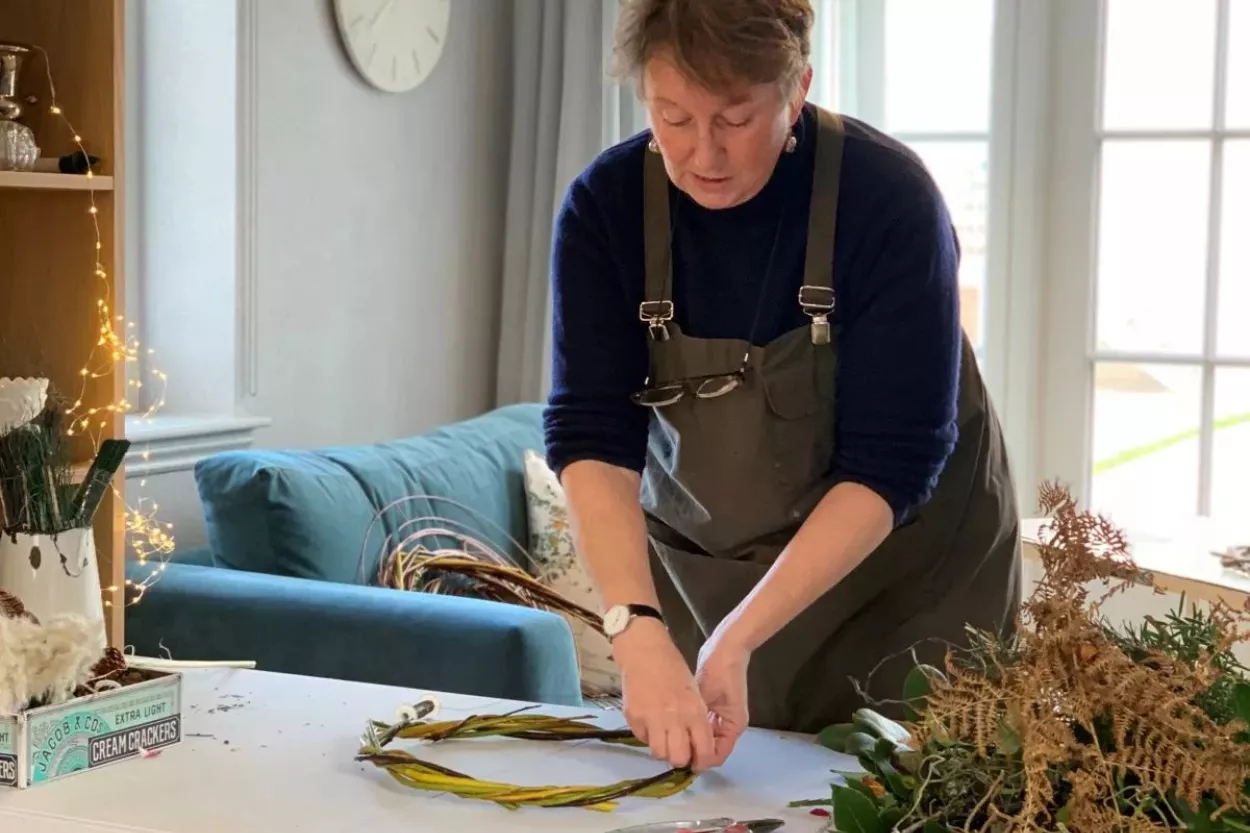
Step 1 – Make the base
If you’re using willow – depending on how bulky you want your wreath to be, I would suggest using about five willow wands. If they are very thick at the bottom snip that off – otherwise they will prove tricky to manipulate. I always gently bend them a bit before I start, to make them easier to handle.
Take your first wand and gently curl it into a round shape to the size you want and tuck the ends under and over to secure. Take your next wand and tip in the top thin end between the weave and do the same as before. Repeat with all the wands as you try to evenly distribute the bulk.
Step 2 – Get your materials ready
Have a rough idea of what you want to include ¬and gather all your materials together before you start – you will be surprised at how much you need if you choose to make a full wreath!
For items that need wiring up together e.g., twigs and cones do that now using your stub wires, then place them in your ‘ready to grab’ pile!
Step 3 – Fix the wire to the base
Take your reel of florist’s wire and fix it onto the base by pushing it through the willow loops and twisting it round a few times – you want this to be very secure as your wreath will be fairly weighty and if you’re hanging it outside, it needs to be robust.
Step 4 – Add your decorations
In terms of decorating your wreath, some people make little bunches and attach them, but I work a bit more organically and I like a bit of drama now and again. I tend to lay on a nice long piece of evergreen to start and then just build up laying on what I fancy and making sure the wire goes over and round each item – nice and tightly – the same way! Believe it or not, it’s easy to forget which way you’re winding the wire round and undo your hard work by mistake.
Step 5 – Review and repeat
As you’re working, adding your items to the base, keep appraising your efforts, looking critically to make sure the colour, textures and balance are all working. Sometimes, an asymmetrical design works well, or you might go with a minimal design or decide you’re only using one type of material. It’s really down to personal preference, but if you’re not happy, simple unwind the wire and change it – simple!
Step 6 – Secure your wire
Once you’re happy with your wreath design, secure the wire by threading it through the last few turnings and snip off. If you are going all the way around the wreath the finishing off will be hidden, but if you are only covering part of the wreath – and this is my usual preference as I like to see the base – tie a ribbon where the wire ends to cover it up.
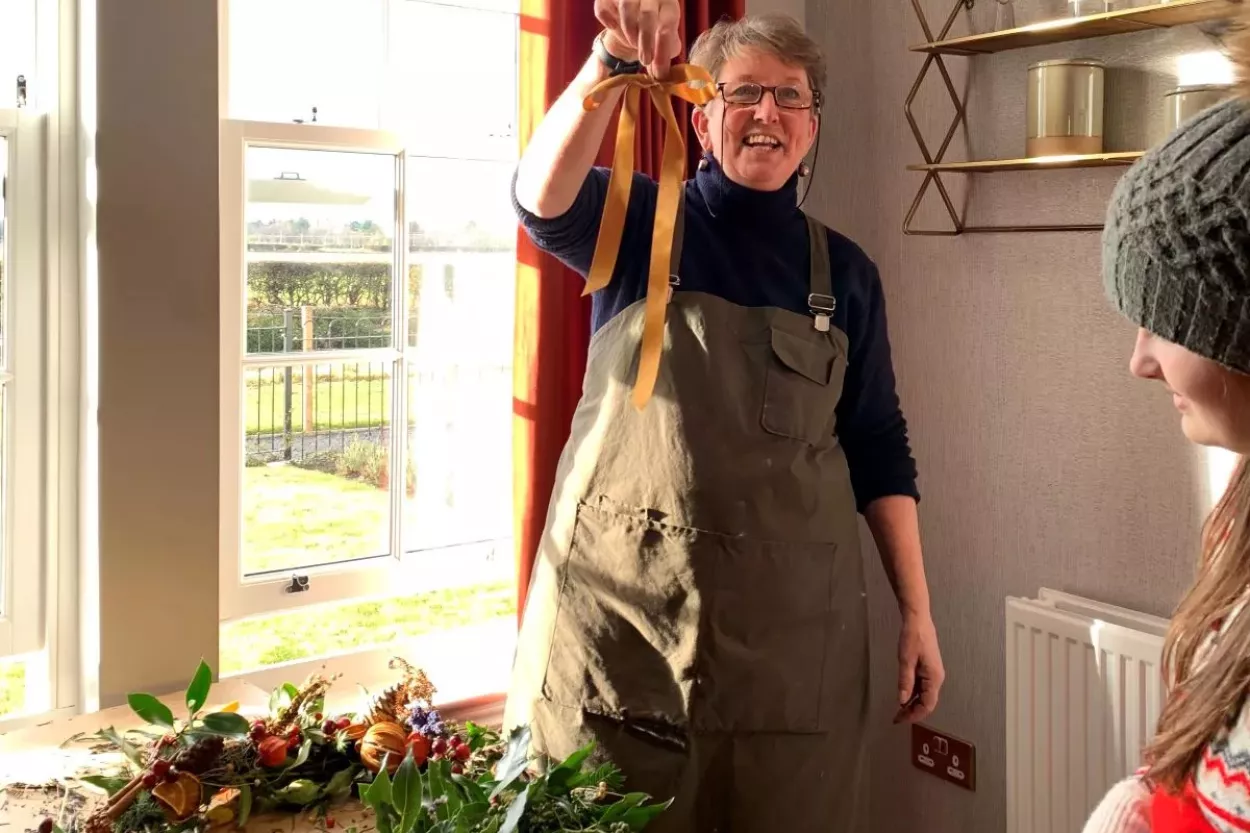
Step 7 – Make a loop for hanging
All that remains now is to create a loop for hanging your wreath – raffia and string are good options if you plan to hang it outdoors.
Final thoughts…
Making anything with flowers or plants is messy work. You will make a huge mess but embrace it – it’s all part of the magic!
Some items can be secured with stub wires, whereas you might be better wiring other items as above and then onto a sturdy bit of leftover stick for added stability. Most people find they get a feel for what works best as they’re doing it!
Waste not want not! Keep all the small offcuts at the end to decorate other areas of your home – the tiniest collection of jars and bottles with random bits and pieces can look great clustered together or lined up on a mantlepiece or table.
We hope Ruth’s step-by-step wreath-making guide helps you add a touch of seasonal style to your home this summer and bring a bit of the outdoors, in.